
People are obsessed with kombucha–here's how to make it at home
It's not as hard as you think to make this fizzy drink.
 Credit:
Reviewed / Betsey Goldwasser
Credit:
Reviewed / Betsey Goldwasser

Recommendations are independently chosen by Reviewed's editors. Purchases made through the links below may earn us and our publishing partners a commission.
Since the moment I first tried kombucha, I was hooked. The sweet, tangy, fizzy bottle of fermented tea was unlike any drink I had before—and I needed more. Between various health claims of improving your gut and so many flavors and brands to try out, I found myself grabbing two or three bottles of the trendy health drink every time I went to the grocery store. The only problem was that one bottle of this stuff costs about $4, which was really adding up with my growing addiction.
Really, the only way to drink several bottles a week when you have limited kombucha funds is to brew it yourself, which sounds intense and very granola. But then my roommate got me a kombucha starter kit for my birthday so I could try to make my own.
Pretty eager, I dove right into my kombucha brewing journey, experimenting with different kombucha tea and flavors to create the perfect batch—and it definitely took some trial and error with both brew time and ideal temperature.
But it’s been over a year and I’ve still been going at it, and I find that, although the process is a little strange, it’s completely worth it if you’re a kombucha-addict like me. Plus, it’s honestly not too hard to make. You just need a scoby, some tea, some sugar, and you’re good to go.
What is kombucha anyway?

Kombucha has a number of health benefits—and it tastes great.
Kombucha is a fermented tea that’s made by adding a culture of bacteria known as a scoby (a.k.a. a symbiotic colony of bacteria and yeast) to a mixture of black or green tea, sugar, and fruit juice. People have been drinking kombucha for thousands of years, but it has very recently been made more mainstream thanks to brands like GTs and Brew Dr. Kombucha, as well as the various health claims that get tossed around, but I’m not here to verify or deny those.
Aside from the popularity, kombucha has a few benefits. The health drink contains several species of lactic-acid bacteria, which may have probiotic function and may aid in digestion, and it also boasts a high amount of antioxidants. The founder of GT’s Kombucha, GT Dave (yes, that’s his real name), even claims that drinking kombucha helped cure his mom of breast cancer—which has not been verified and should be taken with a grain of salt.
Kombucha also contains a teensy amount of alcohol naturally, but at typically less than 0.5%, it’s definitely not enough to get you buzzed. Some grocery stores may still card you at the register, though, so be ready just in case.
Although some of these health benefits haven’t been confirmed, one thing is undeniable: It tastes great. This fizzy concoction has a tart, sour taste with an underlying sweetness that is absolutely delicious—no matter the flavor. It’s almost like a fancier seltzer and this odd, tangy taste is what has me and lots of other people coming back for more.
Why you should begin with a kombucha starter kit
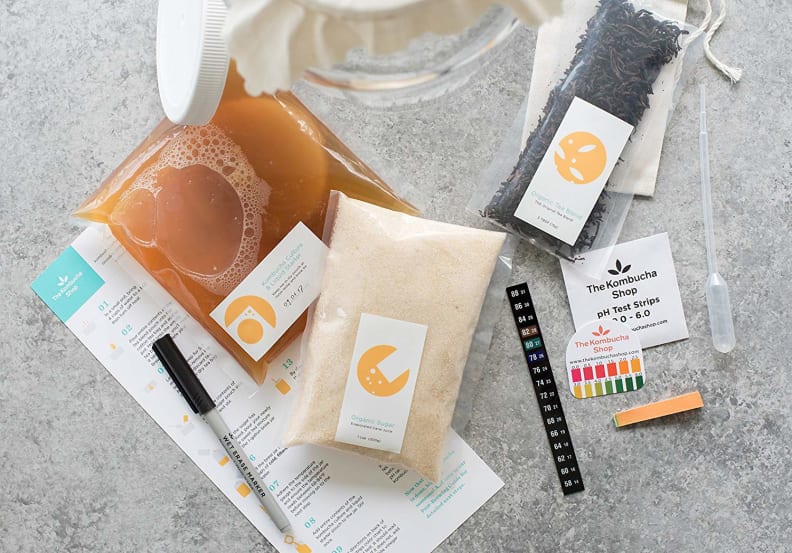
What you get with The Kombucha Shop Kombucha Brewing Kit.
For fermentation novices, getting a kombucha kit is one of the easiest ways to get started on your own home brew. My kit is from The Kombucha Shop and came with all the essentials for brewing kombucha tea, including a 1-gallon glass brew jar, a kombucha scoby with starter liquid, a temperature gauge, pH strips, loose leaf tea with a tea bag, organic sugar, a cheesecloth, a rubber band, a wet erase marker, and a pipette.
While I find that you don’t necessarily need all of these items to make kombucha, they’re useful if you want a more precise batch. For example the pH strips tell when your kombucha batch is at the proper acidity (between 2.5 pH and 3.5 pH) for its second fermentation (more on that later), but I found after a few times I could tell when my kombucha was ready from detecting the tangy taste alone with a sample from the pipette.
It’s also pretty difficult to find a scoby on the market, unless you have a friend who’s already brewing kombucha. So the fact that this kit came with one already in its starter liquid was pretty essential for my success.
For my own kombucha I now use regular ol' black tea bags and white sugar instead of the loose leaf and organic stuff. I find that it’s more cost effective this way, but if you really cared about having high-quality ingredients in your kombucha you could definitely continue to purchase more expensive loose leaf tea and organic sugar.
How to make kombucha
Brewing your kombucha at home is quite easy—once you get past the ick-factor of a kombucha scoby, if it grosses you out. I’ve affectionately named mine Kyle after my former landlord who is, in fact, scum and might as well be a disk of bacteria. I’ve been brewing it for more than a year and here’s the kombucha recipe I follow:
Ingredients:
- 1 gallon jar
- 12 cups of cold water
- 4 black tea bags (or green, if you prefer)
- 1 cup of sugar
- Scoby with 1 cup of starter liquid
- Cheesecloth
- Rubber band
- 6 16-oz bottles
- 1 cup of any fruit juice or other flavorings
Step one
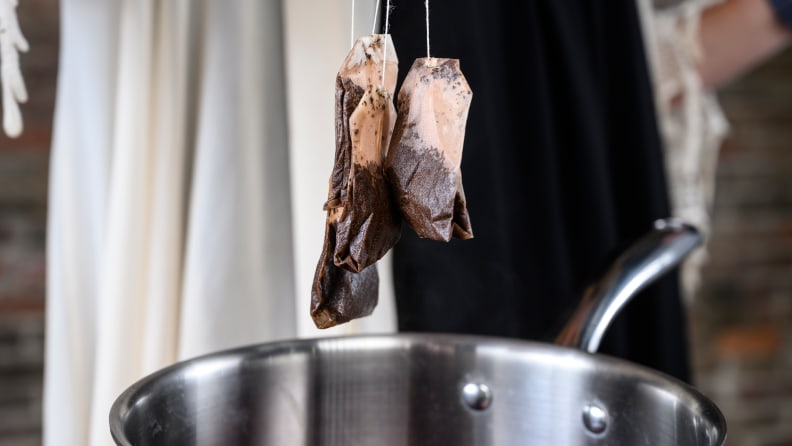
Step one: Brew your tea mixture.
Fill a pot with four cups of water and bring to a boil. Place your tea bags in the water and brew for five minutes. Remove tea bags and add sugar to the brew. Stir until the sugar is fully dissolved.
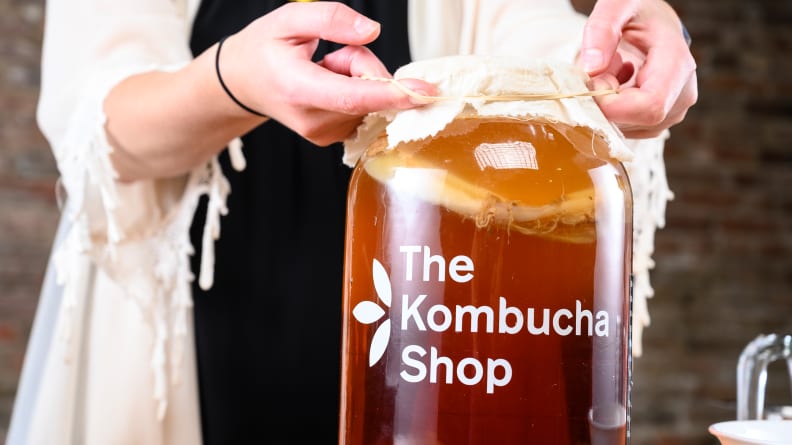
Step two
Step two: Add scoby to tea mixture.
Pour the tea mixture into the jar and add the remaining 8 cups of water. Add the entire kombucha scoby and starter liquid to the jar. Make sure the water has cooled to below 80 degrees before adding the scoby or it may die. Cover the jar with cheesecloth and secure it with a rubber band. This will allow the kombucha tea mixture to breathe while blocking out debris like bugs and dust.
Note: The scoby that comes with your kombucha starter kit will have starter liquid with it. After this first batch, the starter liquid will be leftover from the previous brewing batch.
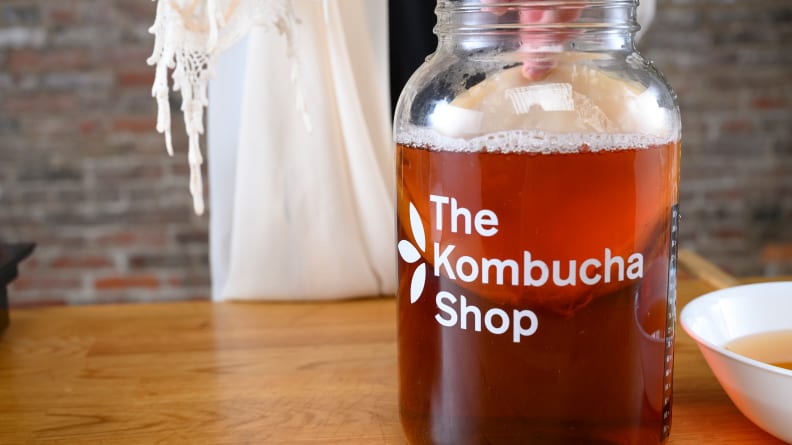
Step three
Step three: Let the kombucha ferment.
The brewing process has begun! In about seven to 10 days, your kombucha batch will be ready. Taste test the batch after a week. If it’s too sweet, let it brew for a few more days. If it’s too tart you might want to add more sugar to during the second fermentation and let it brew for a shorter time during the next brewing process. I prefer my kombucha a little more tart and fizzier, so I’ll let mine brew closer to two weeks.
Note: Your first batch may take longer because your scoby is adjusting to the mixture and its new environment.
You’ll also notice that another layer of scoby has grown during this process. You can use it for an entirely new batch or keep the two scobys in the same jar for a faster fermentation process the next time around (this is what I typically do). The scoby only lasts for about four brew batches, and you’ll want to discard it once it becomes discolored or is easy to tear—luckily you should already have a new one growing before this happens.
Step four
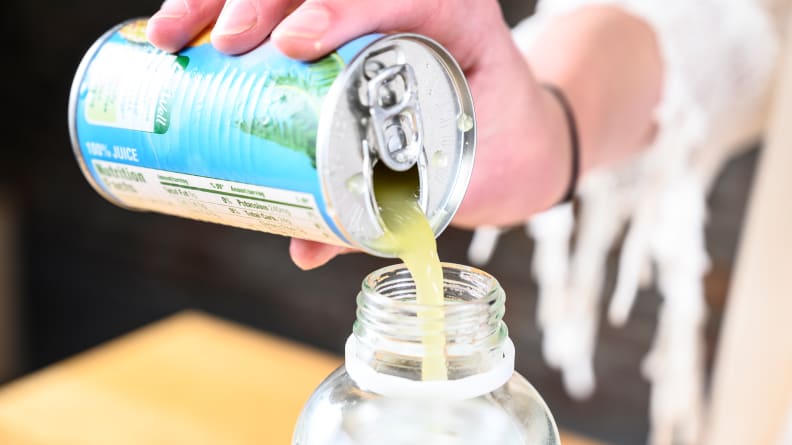
Step four: Add fruit juice and flavorings.
Once your kombucha is at your desired tartness, it’s time for the second fermentation. This is where you flavor your kombucha by adding two to three tablespoons of your favorite fruit juices and spices to a 16-ounce bottle. In the past, I’ve brewed pineapple ginger, apple cinnamon turmeric, cherry lime, and just plain grapefruit—all were delicious. I also attempt to mimic my favorite flavors of GT’s Kombucha for some inspiration like Pink Lady Basil and Lavender Love.
I found that one batch of kombucha tea typically makes six bottles, which means you can make up to six different flavors. I typically use old kombucha bottles because they’re the perfect 16 ounce size and it's a way to recycle old bottles without buying new ones.
Step five
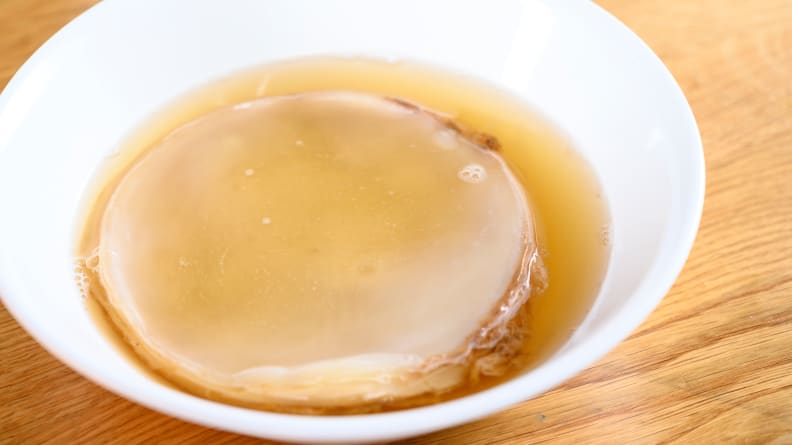
Step five: Take out your scoby.
Take your scoby out of the jar and place it in a separate bowl with 1 cup of starter liquid. You can keep your scoby alive by leaving it in this mixture with some extra sugar, or you can immediately start fermenting a new batch of kombucha by repeating steps one through three.
Step six
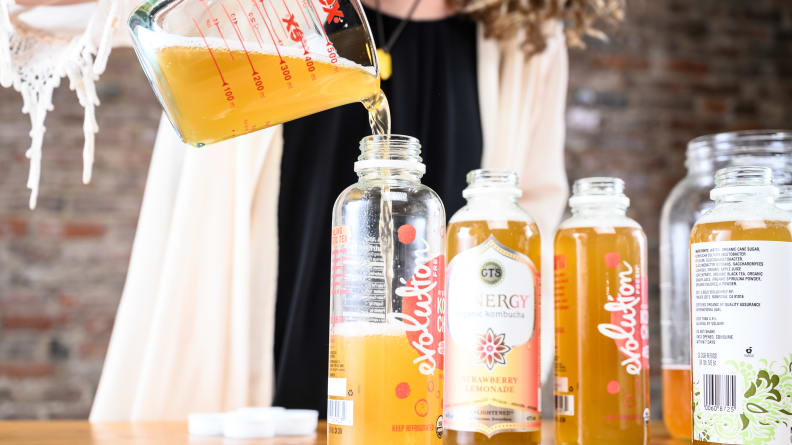
Step six: Bottle your kombucha.
Fill the rest of the bottles with kombucha tea using a funnel or measuring cup. Twist the cap on tight and place the bottles in a warm, dark place like a cabinet or the back of a pantry for two to three days as it undergoes the second fermentation. This is where the carbonation occurs (i.e. the fizzy taste).
Step seven
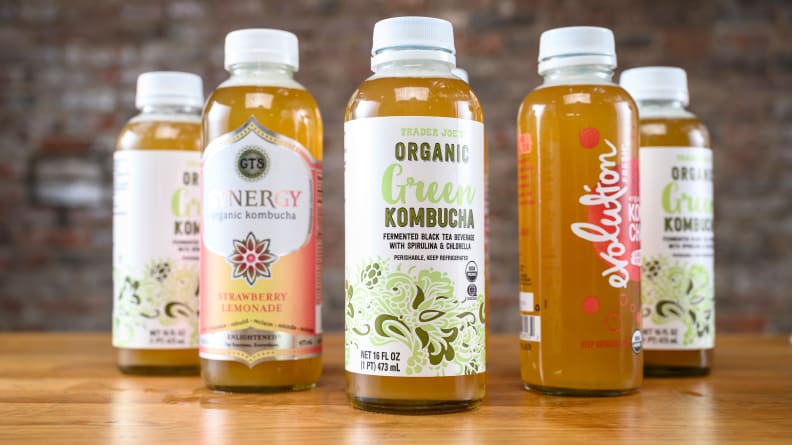
Step seven: Enjoy your kombucha!
Once the second fermentation is complete, your kombucha is ready to be enjoyed. The kombucha should last up to a month in the refrigerator—but trust me, it’s so good you’ll drink it all before then.