
 Credit:
Getty Images / gvl
Credit:
Getty Images / gvl

Recommendations are independently chosen by Reviewed's editors. Purchases made through the links below may earn us and our publishing partners a commission.
Starting seedlings indoors is a fun way to get a head start on the gardening season—and it’s easier than you think. With a little planning, you can grow all the plants you need to fill your garden with delectable vegetables and beautiful blooms.
Step 1: Find your last frost date
When you read seed packets to find out when to plant your seeds, you’ll see statements like: “Indoors: start 4 weeks before last frost.”
Last frost is the last date in the year when temperatures go below 32ºF at night in your area.
It’s not hard to find the average last frost date for your region. You can find maps online, from local plant suppliers and garden stores, or by simply searching your zip code at The Farmer’s Almanac—just remember that “average” isn’t an exact date.
Check weather predictions before you set your tender young seedlings outside, and remember that the climate in your garden can be very different from other spots in your region. A garden on an open, windy hilltop is going to have a later last frost than a narrow plot between a sidewalk and a south-facing wall on the same site, because the stone and pavement absorb heat during the day and release heat into the soil at night.
Also consider the length of your growing season (the length of time between the last frost in spring and the first frost in fall). This will help you figure out if you have enough time to grow that giant pumpkin you’ve always dreamed of.
Step 2: Set up your growing space
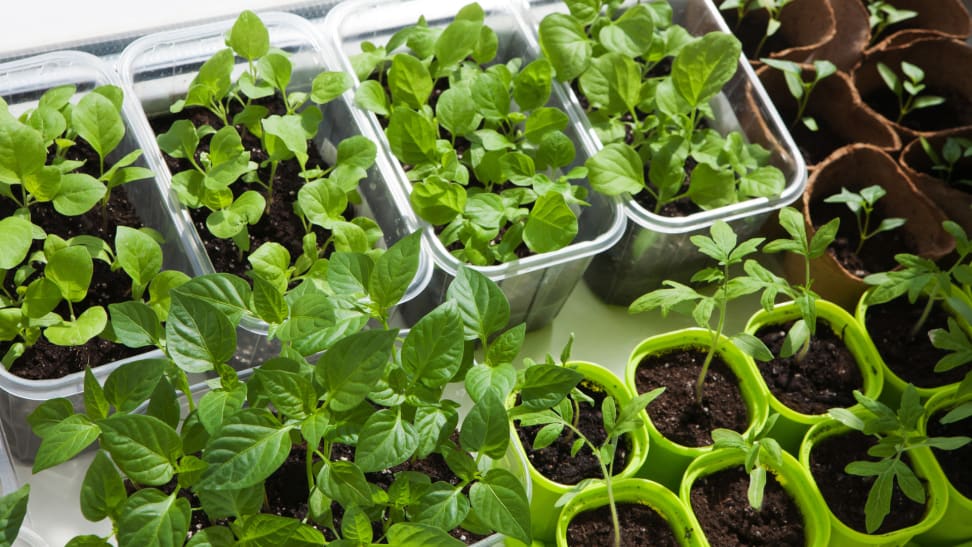
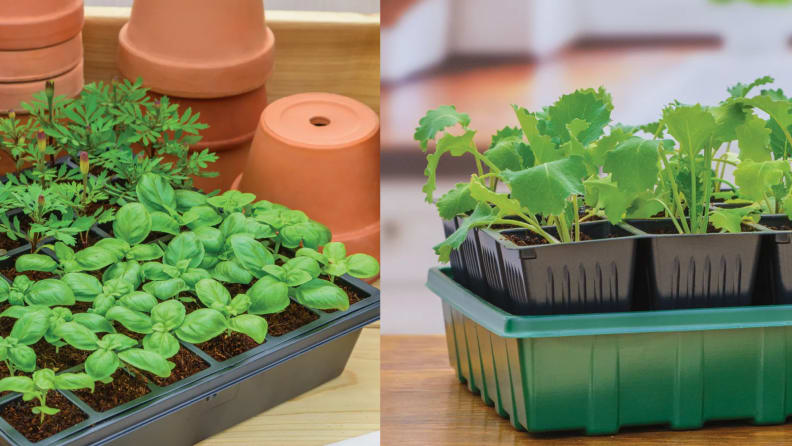
Seedling trays give growing plants the opportunity to expand without overlapping.
A seedling set-up can be as simple as a used yogurt container filled with soil on a sunny window sill. If you want to grow more than a few seeds, or have curious pets or children, you may want to invest in a sturdier set-up.
A seed tray is handy for keeping seedlings organized, and it’s hard to knock over because of its low profile. Either put it on a waterproof surface or get a tray to catch drips. “Greenhouse kits” include the plant pots, a drip tray, and a plastic lid that keeps pets out—although you may need to take off the top once your seedlings sprout to prevent a syndrome called damping off that attacks seedlings growing in places that are too cool or moist.
Whatever you use to hold your seedlings and soil, make sure that there are drainage holes in the bottom. Seeds that stay too wet won’t sprout, and if they do sprout, they’ll rot, mold, or become diseased.
If you’re using your own container, wash and rinse it thoroughly before you plant your seeds. The University of Missouri suggests dipping containers in a solution of one part bleach to nine parts water to prevent plant diseases. Let the container dry completely before planting.
For seedlings that will get fairly big (grow for a month or more) before transplanting, consider planting your seeds in starter ports made of peat moss. You never have to take your plant out of the pot. Just bury the pot in the ground, and the plant’s roots will work their way out into the surrounding soil. (Remember, though, that many experts say that peat moss harvesting is not sustainable.)
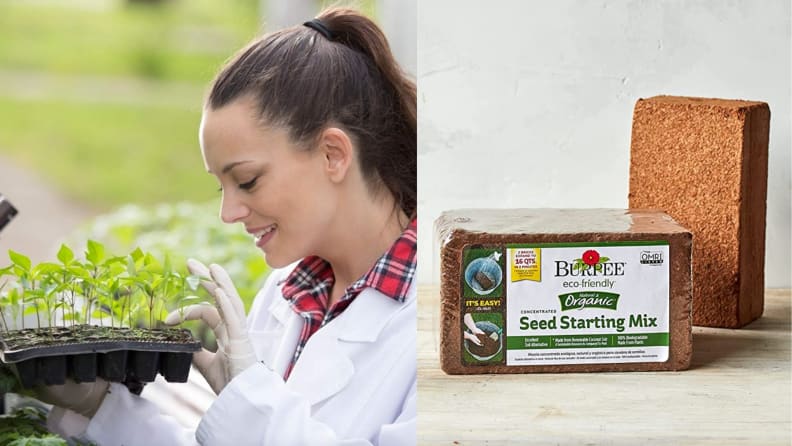
Don’t forget to buy seed starting mix to put in your pots! Soil you dig out of your garden can be very heavy and dense, and have weed seeds and diseases that can overwhelm your tiny seedlings.
Seed starting mix is sterile, so your seedlings can stay healthy, and it contains light, fine-textured materials that keep your pots from turning into solid mud clots. Potting soil works for seedlings too, although it can have a heavier, coarser texture that doesn’t drain as well in small pots, or you can make your own potting mix.
- Get a 10 Pack of Thickened 72 Cells Seedling Trays at Amazon from $29.99
- Get the Burpee XL Self-Watering Growing System at Amazon from $24.99
- Get 50 Seed-Starting Jiffy Strips at The Home Depot from $2.98
- Get the Burpee Organic Coconut Coir Seed Starting Mix at Amazon from $9.99
- Get the Wonder Soil Organic Potting Soil at Amazon from $34.19
Step 3: Your seedlings will need light
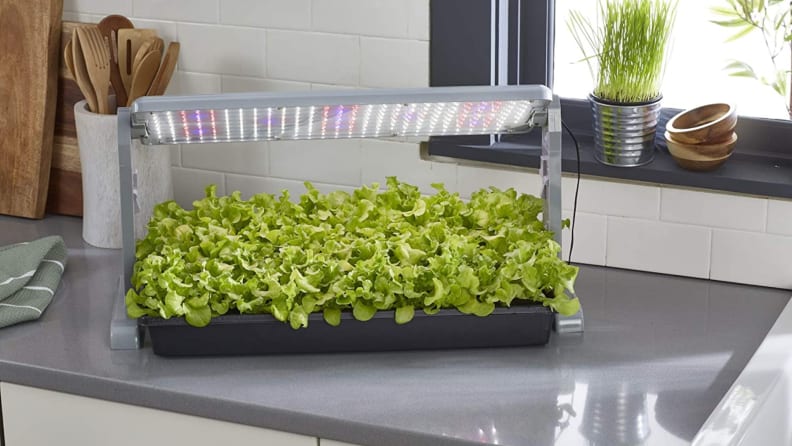
Cloudy days can't stop your little seedlings growth.
Seedlings can thrive in a south-facing window. If you don’t have the perfect window, though, you’ll need a grow light to start seedlings at home. A 2-foot LED grow light will provide enough light for a 20-inch-long, 72-cell seedling tray, which is a lot of seedlings.
Remember that you may need to raise your light as you seedlings get bigger—especially tomatoes, which can benefit from being transplanted into deeper pots before you put them outside in your garden.
Get the Root Farm All-Purpose LED Grow Light at Amazon from $99.99
Step 4: Keep your environment warm
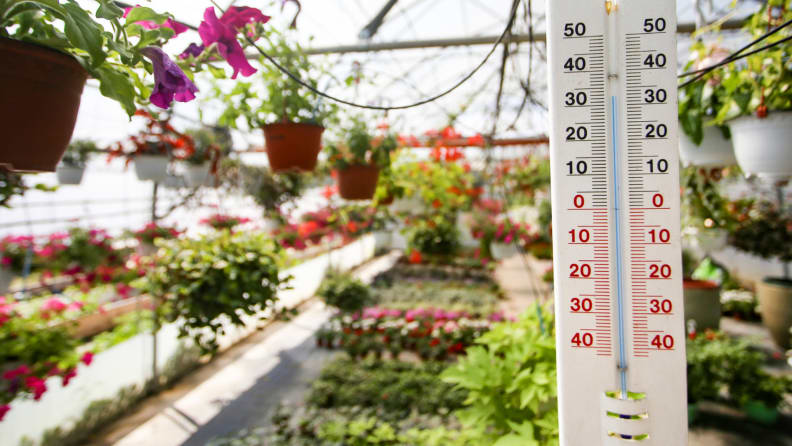
Warm climates will keep your growing sprouts comfortable and thriving.
Some plants will germinate well at room temperature—lettuce, spinach, and broccoli, to name a few—but most veggies and flowers prefer to stay warm. Hot-season plants like tomatoes, eggplant, and peppers germinate best at 85°F.
You can also start your seeds indoors on a seedling heat mat to give your baby plants the warmth they crave.
Get the Vivosun Seedling Heat Mat and Digital Thermostat Combo Set at Amazon
Step 5: Select your seeds
At Burpee you can find seedlings for flowers, plants and vegetables, plus essential gardening supplies.
This is the fun part! Go look up seed sites—we like Burpee for its wide selection, and big retailers like The Home Depot and Lowe’s have a lot of great seeds, too—and start shopping!
Not sure what to get? Check out our guides on great plants for container gardens, raised beds and easy annual flowers to get some ideas for your own home.
When you’re selecting your seeds, remember to look at how long it takes to germinate (sprout from seed), and when you should move it outdoors.
For example, this Early Girl tomato takes 7 to 10 days to germinate, and should be started 6 to 8 weeks before last frost. If your last frost is June 1, look back 8 weeks on your calendar, and you’ll find that you should start seedlings sometime between April 1 and April 15.
Step 6: Plant your seeds
Follow the directions on your seed packet for how deep and how far apart to plant your seeds. Most seeds need to be planted four times as deep as they are wide.
Some seeds need to sit on the surface of the soil to sprout, while others like to sit snug in the earth. Tiny seeds of snapdragons and lettuce need to sit on or near the surface of the soil, while finger-thick seeds for squash, melons, and cucumbers do better a half-inch deep.
Most small-to-medium garden seeds should be planted about one-eighth- to one-quarter-inch deep in the soil. Be aware that if you’re sowing tiny seeds, it’s easy to accidentally plant too close together, and you’ll need to remove some seedlings so the others can thrive.
Take a picture of your seed packets before you throw them away. You’ll save valuable information about spacing and care for when you plant your seedlings outside.
Step 7: Water your seeds
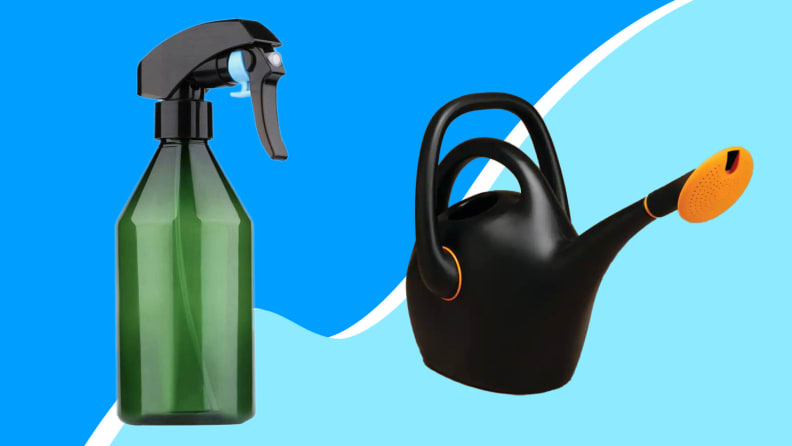
The Bloem Plastic Watering Can has two spout options that offer maximum hydration for your little green friends.
Seeds need water to grow, but it can be tricky to get them the right amount of water—and to water tiny seeds without washing them away. One heavy glug from a milk jug can flood petunias and lettuce off of your seed-starting tray entirely.
Water the seedling mix or potting soil in your container thoroughly before you even plant your seeds. Once you’ve put the seeds in the soil, cover your seeds with a plastic cover, plastic wrap, or a tightly-secured plastic bag to keep the moisture in.
Once your seeds have sprouted, take off the plastic cover to prevent damping off and continue to water them carefully. For especially delicate young seedlings, try a spray bottle or a small watering can with a detachable “rose.
- Get the Apremont Fine Mist Spray Bottle at Amazon from $7.99
- Get the Bloem Easy Pour Black Plastic Watering Can at Amazon from $19.98
Step 8: Watch your seeds
Check your seeds daily to see if they’ve sprouted. As soon as they sprout, remove the plastic cover, and check the soil daily to make sure it’s still evenly moist. Wait until the soil surface is almost dry before you water, and avoid drenching your plants so much that there’s a deep pool of water sitting under the container; your seedlings’ roots need air as well as water.
The seed packets should list days to germination, or how long the seeds should take to sprout. If the packet says 7 to 14 days to germination, don’t worry if you don’t see sprouts on day 14; all these numbers are rough estimates.
If you get to 50% longer than the longest time on the packet, though, your seeds were probably duds.
Step 9: Transplanting your seedlings
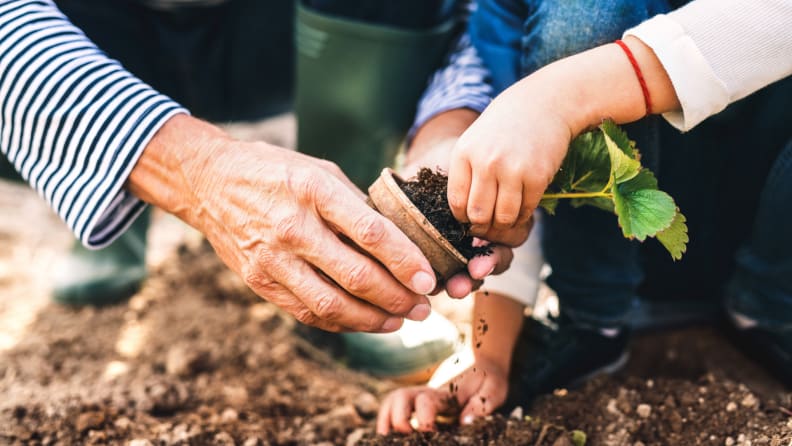
Seedlings are guaranteed to outgrow their original pot, so transporting them into the ground will require gentle care.
Many seedlings can go straight into your garden, raised beds, or containers once they have their true leaves. Seedlings usually start life with little round leaves that don’t look like the plant’s fully-grown leaves.
After another week or two, seedlings develop their first true leaves, a sign that your little plants are ready to move to a new home. You don’t have to move them out immediately, but it’s easier for seedlings to adapt to new conditions if you move them early.
Some plants can go right into the garden even if the temperatures are still cool. Broccoli, cauliflower, collards, kale, lettuce, and Brussels sprouts are all cold-hardy, which means that they can generally withstand light frosts (around 32ºF). Several flowers are also cold-hardy, including snapdragons and alyssum
Other seedlings, like tomatoes, bell peppers, and eggplants, will experience transplant shock if they’re planted outside when the weather is too cool. Wait until nighttime temperatures average at least 55ºF before you expose them to the cold, hard world.
If they’re outgrowing their starter pots, you can transplant these seedlings to bigger pots. Turn the starter pot upside down, holding your fingers on either side of the plant stem, and tip or shake the plant out. Plant it in a larger pot at the same soil level—unless it’s a tomato (we’ll talk about them in a minute).
Cold hardy or not, all indoor seedlings need to harden off to adapt to outdoor wind and light, before you put them in the ground. A week or two before you plan to plant them, move your seedlings outside to a shady spot for a few hours. Increase the amount of time they’re outside every day or two until they’re outside all day long.
Bring the seedlings in at night if the weather is going to be cold, or any time there are heavy storms, and make sure you keep them well watered. It’s easy for small seedling pots to dry out in warm spring sunshine.
Most seedlings can be planted at the same level in the soil as they were in the pots. If you used peat pots, you can just plant the pot! The exception is tomatoes, which should be planted as deep as their first leaves so they will develop more robust roots. You can also plant them horizontally, with a few true leaves above ground, a technique known as trench planting.
Step 10: Watch them grow
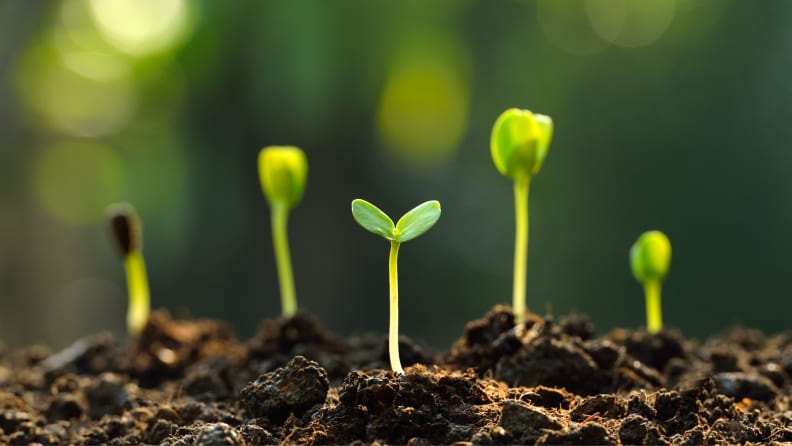
The most satisfying part of cultivating your garden is watching your tiny creations grow.
Watch your seedlings after you plant them. It’s best to put hardened seedlings into the ground on a cloudy day just before a gentle rain to ease their transition. If that’s not possible, try to plant them in the late afternoon or early evening.
Water your seedlings carefully within an hour of planting to reduce transplant shock. (If you’re using a hose, get a hose nozzle with a light rain or misting setting).
Apply compost or mulch around your plants to discourage weeds, and admire your work. You have created life! And soon your garden will be filled with delicious tastes, scents, and blooms. The joy has only just begun.

