Do you need a machine to make almond milk at home? Probably not
This gadget turns almonds into milk
 Credit:
Reviewed.com / Kori Perten
Products are chosen independently by our editors. Purchases made through our links may earn us a commission.
Like many other fine individuals of my generation, I have an almond milk habit.
I know the stuff I buy at the store is full of fillers, sugars, and very few actual almonds—and yet, as someone who largely avoids dairy, it’s my favorite dairy alternative to use in cereal, smoothies, or baking. I’ve tried making my own with a food processor or blender—with tasty results—but the task requires time and energy I don’t have.
That’s why I was so excited to try the Midea NRG Milk Extractor, a large, sleek countertop machine that can make “milk” out of nuts, soy, and rice. And I knew right off the bat what I wanted to use it to make: almond milk, milk alternative of champions.
My expectations weren't unreasonable. Given the milk extractor's focus on, well, nondairy milk, I expected it to be easier to use than other methods of whipping up homemade almond milk. When you use a blender or food processor, it's a simple (but tedious) matter of grinding up almonds with water and straining the stuff through a fine mesh bag. I hoped that the Midea NRG Milk Extractor would be less tedious.
So let's see what the process was really like, shall we?
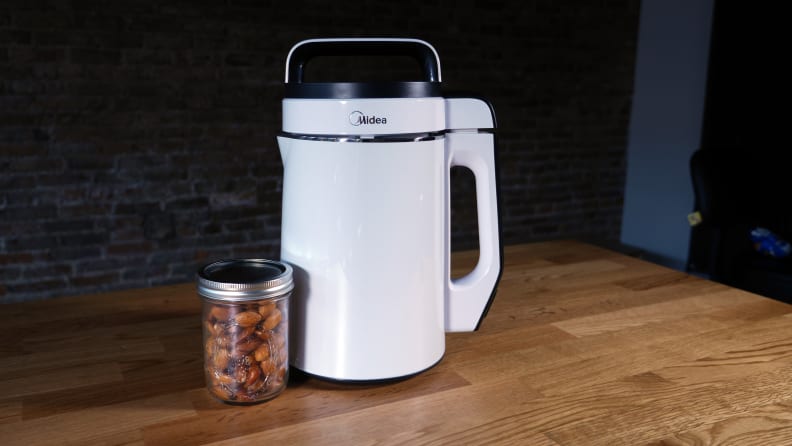
Step 1: Soak raw almonds overnight
Start your almond milk project the night before. Acknowledge that this is necessary, even though you don’t like waiting. Tell yourself that it will all be worth it when your almond milk is super creamy. Try not to blame Midea for this opportunity to test your lack of patience—this seems to be a necessary step for making almond milk in general. Dump a bag of raw almonds in a mason jar and cover with water. Go to bed. In the morning, drain and rinse the almonds.
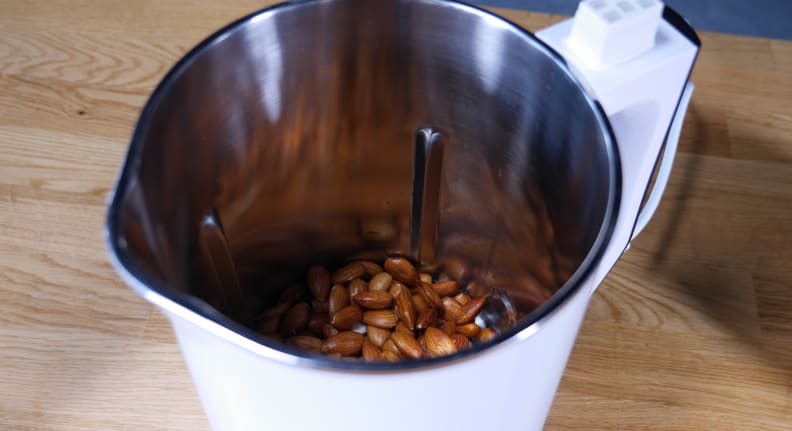
Step 2: Put almonds and water in the NRG milk extractor
This seems straightforward enough, but it’s okay if it takes you a long time to figure out that all the bits and pieces that come with the nut extractor aren’t intended to actually stay in the machine during use. Fill the barrel of the nut extractor with three cups of soaked almonds and five cups of water.
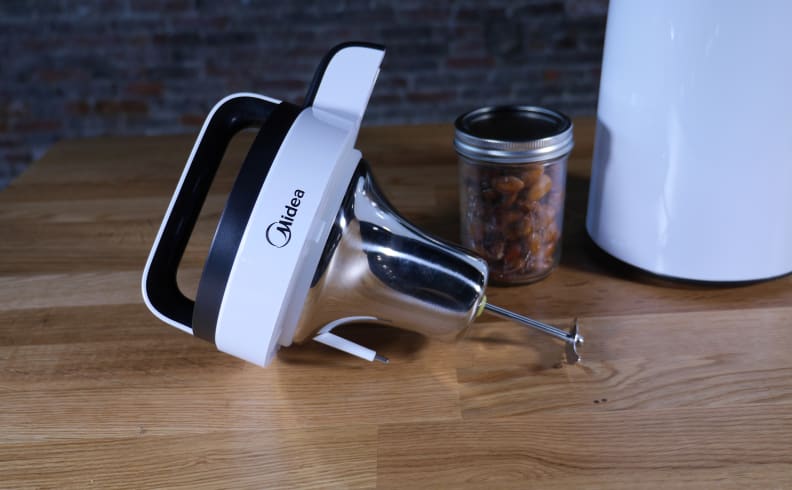
The lid of the milk extractor has a sort of metal rod with a blade on the end attached to it. Place it carefully on the machine and make sure it’s secure.
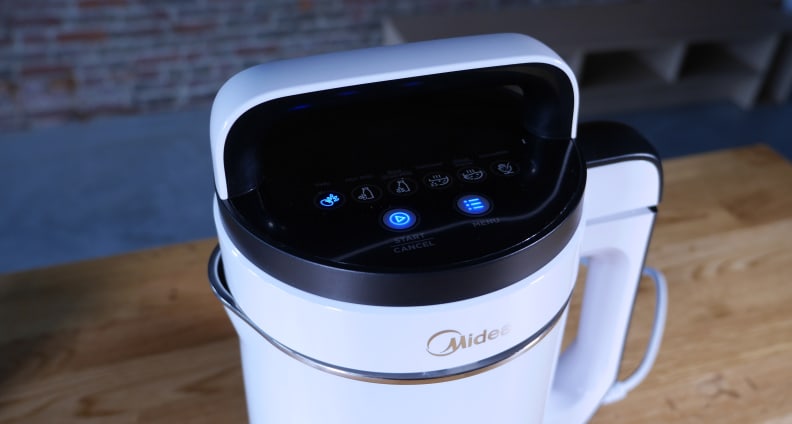
Step 3: Press the menu button until the “nut milk” setting is lit up. Press start.
Press the correct buttons. Feel a sense of accomplishment even though pressing the buttons was really easy. Honestly, the manual that came with the device was supremely unhelpful, so the fact that you've managed to assemble and turn the machine on kind of is an accomplishment.
Step 4: Wait.
Wait a long time. Wonder if anything is happening in the extractor at all. Lean into it, pretend it’s a microphone, and say, “Is this thing on?” in your best comedian voice. Realize that you can hear the water boiling inside the barrel. It’s soothing, like coffee quietly brewing. Wait a bit longer, soothed.
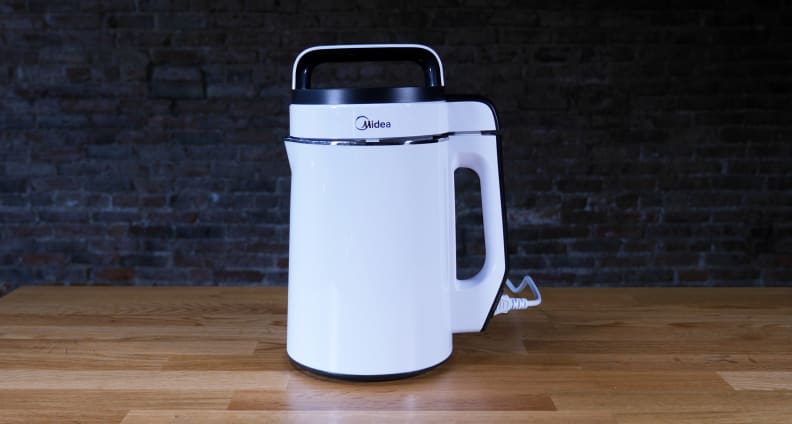
Jump out of your skin as the milk extractor abruptly starts to grind the almonds. Dramatically move your electronics to the other side of the room as steam starts coming out of the lid, just in case it dumps hot water all over the table or something. Feel a bit silly when nothing bad happens and move all your electronics back.
Wait some more, until it stops grinding for good. Wait some more. Start to wonder if the now-quiet machine is now done, even though you never heard it beep or anything.
Step 5: Unplug the milk extractor
After a long time, decide that the milk extractor must be done extracting. Unplug it, you maniac!
Step 6: Let it cool down
At this point the contents of the milk extractor are actively boiling. Give it time to cool, even though this is literal torture because you just waited so long for the machine to do its thing and seriously, you’re getting thirsty.

Step 7: Pour the contents of the milk extractor into a bowl through a nut milk bag
The milk extractor comes with a mesh bag for making nut milk. Set it in a large bowl. Pour the contents of the milk extractor through the mesh bag.
It looks like especially gross oatmeal and smells kind of unpleasantly earthy. Realize you’re going to need to squeeze more liquid from this mushy mass and realize you can’t do so with your hands because it’s still too hot. This is your fault for being impatient. Refuse to wait and instead squeeze out more liquid with the aid of some tongs and the force of your stubborn determination.

Step 8: Drink some almond milk
Drink some almond milk, you winner, you! Pucker your lips at how bitter and unpleasant it tastes. Add some agave and vanilla. Find this better but still not something you’d drink on purpose unless circumstances were dire.

Force a few of your coworkers to drink some of the almond milk, but be upfront about the fact that it’s not great. Nod along when one of them tells you it tastes watery, like you’re drinking water that was used to clean a bowl full of almond pieces. Nod fervently when another coworker says it’s not horrible but not good and would be drastically better if spiked with alcohol, chocolate or a lot of sugar. “Something unhealthy,” he says.
Step 9: Do your dishes
Wash the milk extractor, nut milk bag, and other stuff you used during the project. It’s not as difficult as you’d expect, but the milk extractor is so tall it’s hard to fit in the sink.
Step 10: Think about the product
So here’s the thing—the fact that the resulting almond milk was not awesome is not necessarily a thing one can blame on the Midea milk extractor. Maybe the nuts you bought weren’t great, or the ratio was off, or you didn’t add enough sweetener.
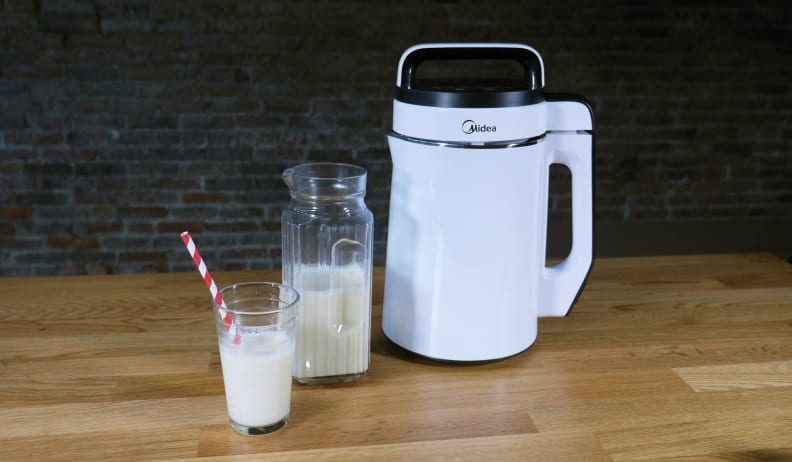
Know that you can pretty easily make almond milk with a food processor or blender. Know that you used an $80 device and about $7 worth of almonds to make 44 ounces of mediocre almond milk, when typically you spend less than $4 to buy 64 oz of the premade beverage at the store—although be aware that the stuff you made is probably healthier.
Know that there are times when you’d be glad that the milk extractor boils the milk, because of course that’s better for food safety and sometimes it’s nice to sip warm milk. Know that this heating function might be especially nice if you were making soy milk, which needs to be heated in order to be edible. Know that making soy milk (or rice milk, or soup) is an option with this device and that it might be easier than making almond milk, but that it’s just not what your heart desires at this point in time.
Know also that you personally don’t have the counter space or need for this product, but that if someone wants a dedicated dairy-free milk extractor, this is probably not a bad option.
