Paper snowflakes are a great winter activity—here's how to make them
Easy and beautiful DIY holiday decorations
 Credit:
Reviewed / Lisa Lawrence
Credit:
Reviewed / Lisa Lawrence

Products are chosen independently by our editors. Purchases made through our links may earn us a commission.
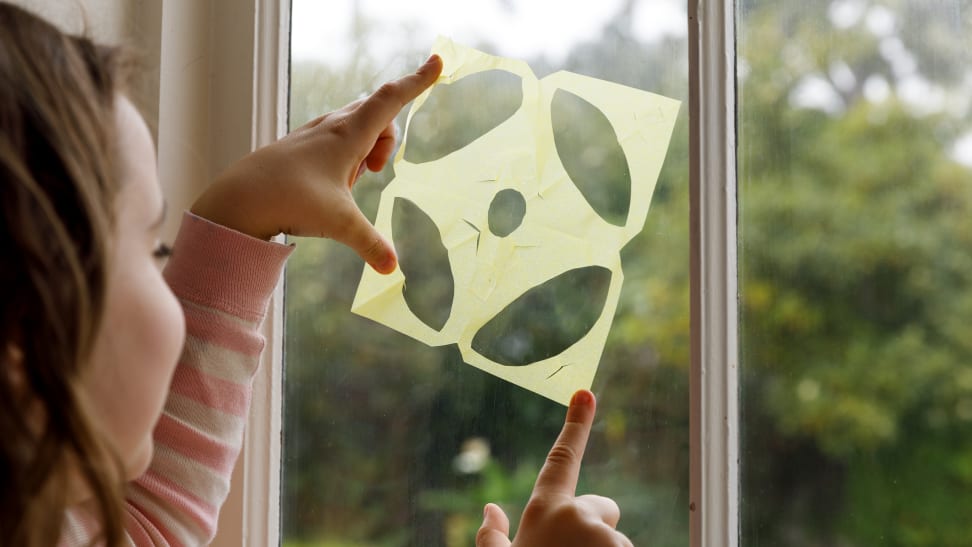
Simple folds and easy cuts make beautiful paper snowflake decorations for your windows, walls, and Christmas trees. This easy DIY craft is a great activity for snow days, and paper snowflakes made of kite paper are a wonderful way to celebrate winter.
What you need to make paper snowflakes

You only need a few craft supplies to make exquisite paper snowflakes.
While you can use any kind of paper (even scratch paper) for simple snowflakes, more complicated designs require a package of kite paper. Kite paper is thinner than regular printer paper, but strong enough to withstand repeated folding—and it comes in lots of beautiful colors.
If you're a beginner and want a little guidance—or you want step-by-step instructions to take your designs to the next level—we like the book Snowflakes, Sunbursts, and Stars: 75 Exquisite Paper Designs to Cut, Fold, and Curl. It includes lots of truly beautiful paper crafts that can be made all year long.
While it's certainly not necessary, a few tubes of glitter glue will make your paper snowflakes truly sparkle, and kids always love glitter.
You'll also need a good pair of scissors. Be sure to get some kid-friendly ones for younger snowflake crafters.
How to make paper snowflakes, for beginners
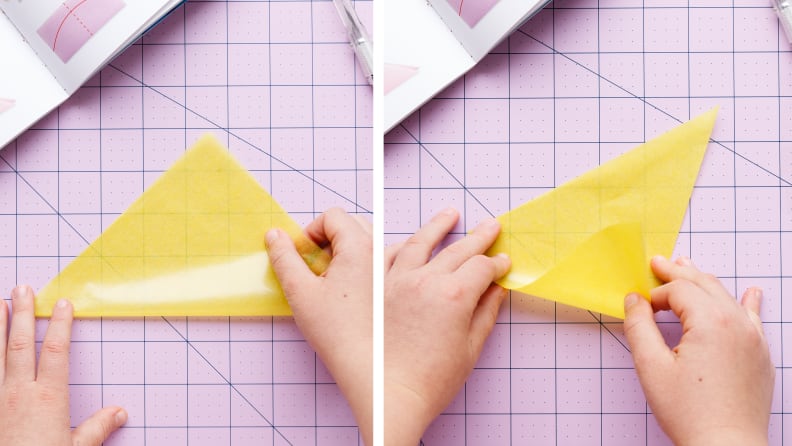
Start by folding your paper into a triangle.
For younger children without the patience to follow a pattern, start with a square of paper, any kind, and start playing. Fold, cut, and unfold to see where the cuts land. Go back and add more if you like. Use tracing paper for translucent white snowflakes, and kite paper for its strength and vibrant colors.
- Step 1: Make a triangle by folding one corner to its opposite.
-
Step 2: Next fold it in half again to make another triangle.
- Step 3: Use scissors to cut on all edges of the triangle.
-
Step 4: Open the folded paper carefully and refold if you decide to make more cuts.
How to make more paper snowflakes, for more advanced crafters
Kite paper's bright colors make snowflakes pop during dreary winter weather.
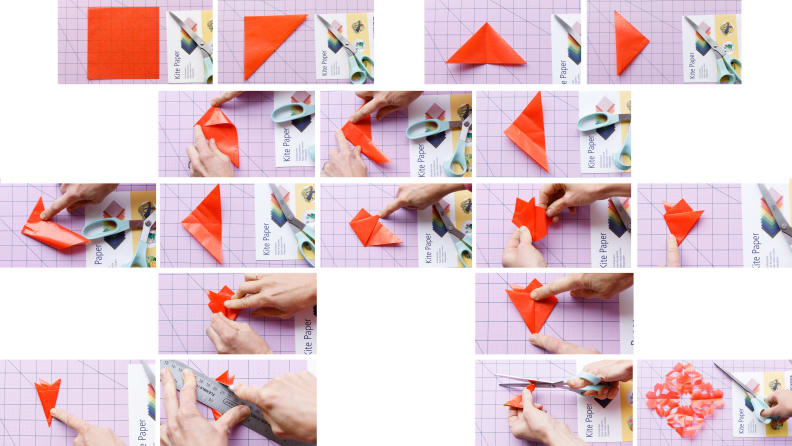
If you want more of a challenge, either for yourself or for older kids, start with the six-fold technique. The fun is all about folding your square of paper in various ways and then cutting a pattern into the edges. This Japanese folding technique is called kirigami: kiru meaning "cut" and "gami" meaning paper.
- Step 1: Fold your square in half, making sure that the corners meet.
- Step 2: Fold the new triangle in half to make an even smaller triangle.
-
Step 3: Unfold that triangle and use the creased line as a guide. Fold the right side point up to the top point. Crease the fold.
- Step 4: Next, fold the top point down to line up with the crease you made in step 3.
- Step 5: Fold the paper by lining up the creases in steps 3 & 4 and make a crease. Now you will have three creases.
- Step 6: The crease in the middle of the three, which you made in step 5, will act as a guide for your next fold. Fold the left tip of the triangle up to that center crease, lining up the bottom edge of the tip to the crease and then extend the tip of the paper just beyond the edge.
- Step 7: Now fold the right tip around to the back and see the tip move around the back.
-
Step 8: At this point you should have the three tips of the triangle toward the top. Fold the front point to the left and try to line it up with the other tip whose head is peaking out on the backside.
- Step 9: Finish by folding the body on the right side toward the back and you will end up with a cone shape.
- Step 10: Cut off some points at the top and then begin cutting shapes all over the cone shape
Finally, have fun opening the paper snowflake carefully, and check out your beautiful work!

