Here's how to actually use a meat thermometer properly
No more guessing when your meat is done!
 Credit:
ThermoWorks
Products are chosen independently by our editors. Purchases made through our links may earn us a commission.
Introducing a high-quality meat thermometer into your cooking routine is an incredibly quick and easy way to elevate your culinary game. Say goodbye to chicken you think is cooked properly and red meat you could have sworn would be medium-rare.
To get optimal results, however, you'll want to make sure you're using a meat thermometer properly. Luckily, they’re easy to use—just remember these steps to ensure you're using your meat thermometer the right way.
Step 1: Know what temperature you’re aiming for
Having a solid meat thermometer is only half the battle. You'll also need to know what temperature you’re aiming for before you start cooking. The USDA minimum cooking temperatures are:
- Red meat: 145℉ for medium/medium-rare
- Pork: 145℉ for medium/medium-rare
- Fish: 145℉
- Chicken/Turkey: 165℉
Keep in mind that some meats require 5-10 minutes of resting before they’re completely done, and during that resting time, temperatures rise a bit. Keep your personal preferences in mind, too—if you know you like your steak rare, find the recommended temperature for rare meat.
Step 2: Aim for the thickest part
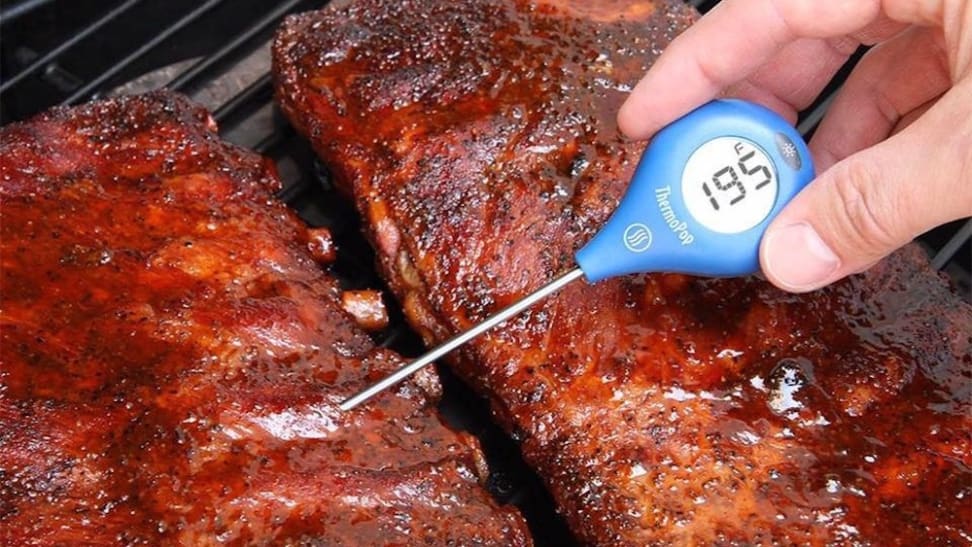
As you're cooking, find the thickest part of the meat—when you measure, that’s where you’ll put the probe. It’s important to measure this spot first, as it will take the longest to come to temperature.
So, for example, if you notice your chicken breast is 175℉ on one end and 145℉ on the other, wait until the fat end hits 165℉. (If you want to make your life easier, try pounding your meat so it’s more even in thickness and the temperature discrepancy between sides isn’t as large.)
Step 3: Submerge the entire tip
Most thermometers have an easily distinguishable tip—it may have grooves or be slightly smaller than the rest of the probe. To accurately test temperature, this entire probe needs to be in your meat. If the tip isn't readily defined, submerge your probe about ½ inch.
Step 4: Measure multiple times
Follow your recipe and measure the meat a minute or so before it should be done, as this will let you know if you need to keep cooking. After your initial measurement, keep measuring every couple of minutes, depending on how far off you were. Once you reach temperature, take the thermometer out, wipe it down, and measure once more before removing the meat.
Step 5: Clean after each use
Keep your thermometer happy and accurate by cleaning it after each use.
If the thermometer is water safe, run the tip under hot water and lightly wipe it with a soapy sponge. If it's not water safe, run a paper towel or washcloth under hot water, dab a bit of dish-washing soap on it, then wipe down the probe, quickly drying it after.
Choosing the best meat thermometer
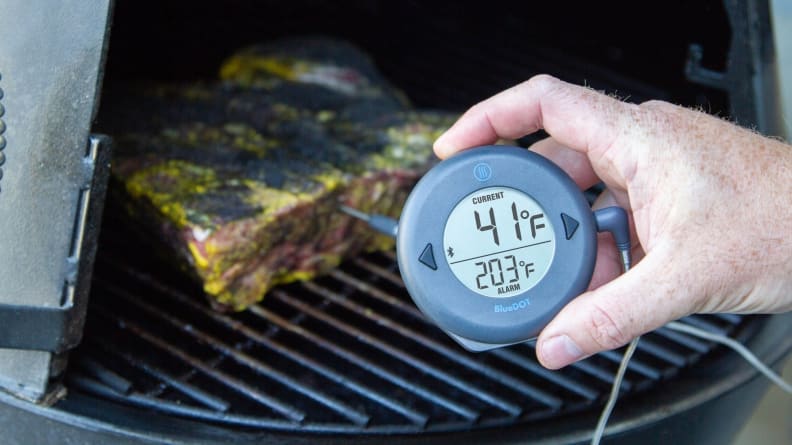
Probe thermometers allow you to leave the probe in the meat.
Meat isn’t the only thing that needs to get measured in the kitchen, but not all thermometers are created equal. Kitchen thermometers are often built with specific foods in mind—for example, candy thermometers are typically a flat, rectangular shape with the temperature sensor at the bottom. Great for heating sugar, terrible for testing meat.
For this reason, you need a meat-specific thermometer to help cook those thick slabs of steak, and there are quite a few styles to choose from. Here's what you need to know when shopping for the best meat thermometer.
Types of meat thermometers
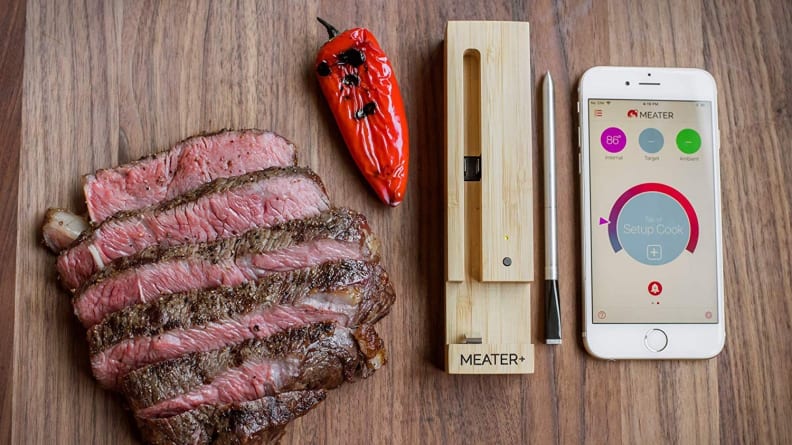
Smart thermometers let you monitor temperature from your smartphone.
Meat thermometers come in a variety of shapes, sizes, and prices, but at the end of the day, they should all do the same thing: tell you the internal temperature of your meat. There are a few types of meat thermometers you’ll likely come across as you shop:
- Bimetallic: A bimetallic thermometer uses to metal to measure temperature—essentially, as temperatures change, a metal strip moves and points to the corresponding number. These are good when baking or roasting meats, as they measure slowly and can generally be left in the food during the process.
- Bulb: These thermometers are made from glass and liquid—as temperatures rise, the red liquid takes up more space and climbs the scale. Like bimetallic, they take a while to gauge temperature and require manually reading. They're not the most popular option for meat thermometers, but you may come across a few.
- Instant read/digital: Instant read thermometers are popular because they work quickly. They have a metal spoke attached to a digital reader, which allows speedy measurements. These digital thermometers can get expensive, but the convenience of speed is well worth it.
- Electric probe: Like bimetallic thermometers, probe thermometers can generally be left in your meat while it cooks. The probe reads the temperature and reports it to a digital reader. This is another great choice for oven-based meat cooking, as you can leave the reader on the counter and check it throughout the cooking process.
-
Smart: Smart meat thermometers are newer to the scene, but that doesn’t make them any less of a contender. Typically, you leave the probe in the meat and read the temperature from—you guessed it—your smartphone. The downside? The high price.
What to look for in a meat thermometer
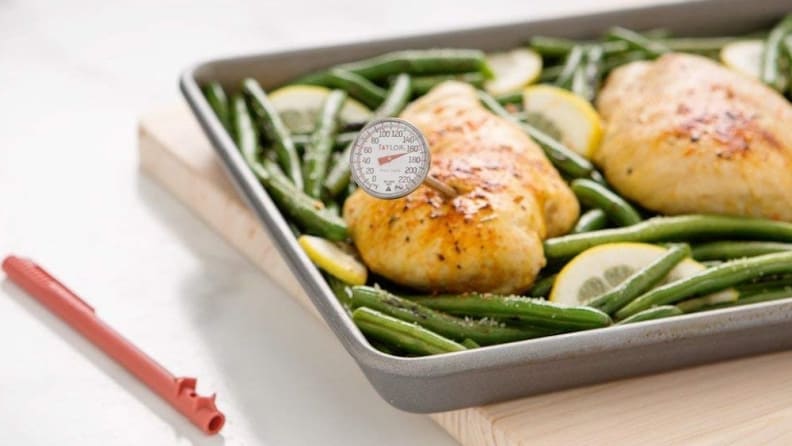
Bimetallic thermometers aren't the most modern, but they'll get the job done.
No matter what style you choose, look for the following from a meat thermometer:
- Medium-long probe: The silver spoke that extends from your thermometer will be what you use to gauge temperature, so ensure the model you purchase is long enough for the meats you cook most often.
- Temperature range: If you plan on using your thermometer for meat only, you won’t need one that measures past 200℉. If you plan on purchasing a dual-purpose tool, however, you may need a high-range thermometer that goes up to 500℉ or more.
- Speed: You don’t want a thermometer that takes more than 30 seconds to get an accurate read—temperatures change so quickly, it may not be accurate anymore at that point!
- Ease of reading: Many meat thermometers come with digital displays that allow you to easily see temperatures. However, some models require reading temperatures from gauges or printed interfaces. If your eyesight isn't the best, it may be challenging to read these small numbers, so take this into account as you shop.
- Price: High-quality thermometers can range pretty dramatically in price, starting at $20 and ranging up to $100 or more. If you cook several times a week and anticipate using your thermometer on a regular basis, it may be worth it to invest in a more expensive model. If you are getting your culinary bearings, however, a lower-price option may suit your needs just fine.
Don’t forget to calibrate your thermometer
Every few months, it’s a good idea to calibrate your thermometer. Over time, the gauge can shift slightly, making for less accurate measurements. To test your thermometer, submerge it in a glass of ice water—it should read 32℉. If it does not, you need to re-calibrate it.
Digital thermometers should come with a button to re-calibrate, but manual ones will be a little tougher. Check your user manual that came with the tool and re-calibrate following their steps.

