Channel your inner mixologist with this DIY project
Here’s how to elevate your home cocktail experience with fancy garnish.
 Credit:
Reviewed / Valerie Li Stack
Products are chosen independently by our editors. Purchases made through our links may earn us a commission.
Last year saw a boom in DIY projects as millions of people spent more time at home, and it doesn’t seem like that will change anytime soon. From trying out home decor kits to catching up with the latest fashion trends, people have been pushing their creative boundaries as a way to fill the extra time.
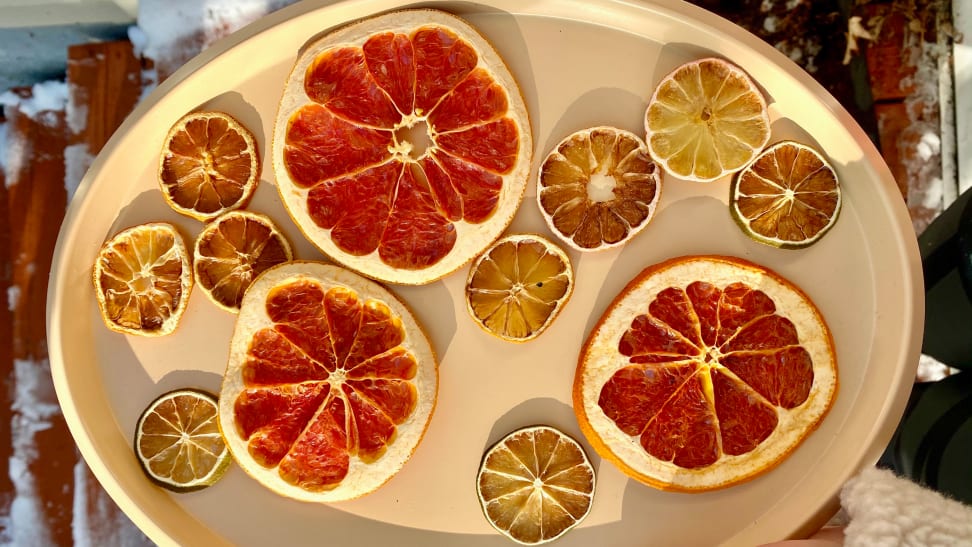
Now it’s time to take that creativity to the kitchen: Turning citrus slices into stained-glass-like wheels is an easy (and tasty!) way to add a fancy touch in your next highball.
The good news is that the dehydrating process is straightforward and doesn’t even require a dehydrator. Here’s how to dehydrate citrus fruits and make them into a classy cocktail garnish.
How to dehydrate citrus wheels

Making dehydrated citrus fruits is easy.

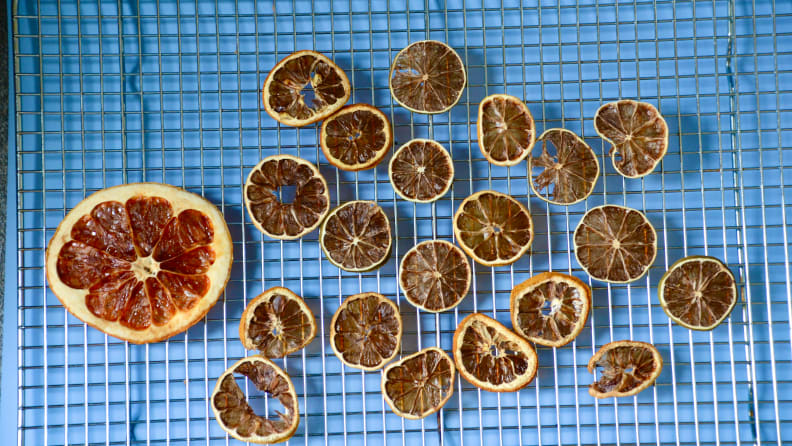
Use a drying rack to encourage more airflow during the hydration process.
Step 1: Prepare the citrus
Slice the citrus—lemon, lime, grapefruit, or oranges—crosswise into little wheels. For uniformity, we suggest using a mandoline slicer. Creating wheels with uniform thickness will mean all your fruit dehydrates at the same rate. It’s also recommended that you stick to dehydrating one type of citrus at a time—avoid drying grapefruit and lime together because the former takes much more time to completely dehydrate.
Step 2: Set the oven to the lowest temperature possible
Some ovens can go as low as 200°F and that’s the general temperature range you’re aiming for. (My oven goes to 170°F and it takes a little longer to dehydrate fruits at that temperature.)
Step 3: Prepare the rack
If your baking sheet comes with a drying rack, you should place the citrus wheels on top of the rack to increase potential airflow. If not, line a baking sheet with paper towels and arrange the wheels on top, making sure they don’t touch each other.
Step 4: Into the oven
Place your citrus wheels on the middle rack in the oven. Let dehydrate for about 10 hours at 200°F or 15 hours at 170°F. Optional: Check and flip the wheels every two to three hours to get both sides evenly dried.
Step 5: Check the texture
Your citrus slices are done drying when they are brittle to the touch. If the flesh still feels soft or tacky, you’ll probably want to increase the drying time in one hour increments until the flesh is brittle.
You can store your dried citrus wheels in an airtight container—like a resealable glass jar—in a dark and cool location. They should last for at least one year as long as the moisture level in the container stays low.
Serve with your favorite cocktail.


